Computer vision operations
DataHub product guide
Turn images into labeled datasets, then train and inspect supported models in the same project. DataHub connects data browsing, annotation, dataset versions, and model runs so you can follow an experiment back to the examples it used.
Choose your next task
What can I do with DataHub?
| Your goal | Start here | What you get |
|---|---|---|
| Find and organize useful examples | Project image grid and filters | A focused collection for labeling or review |
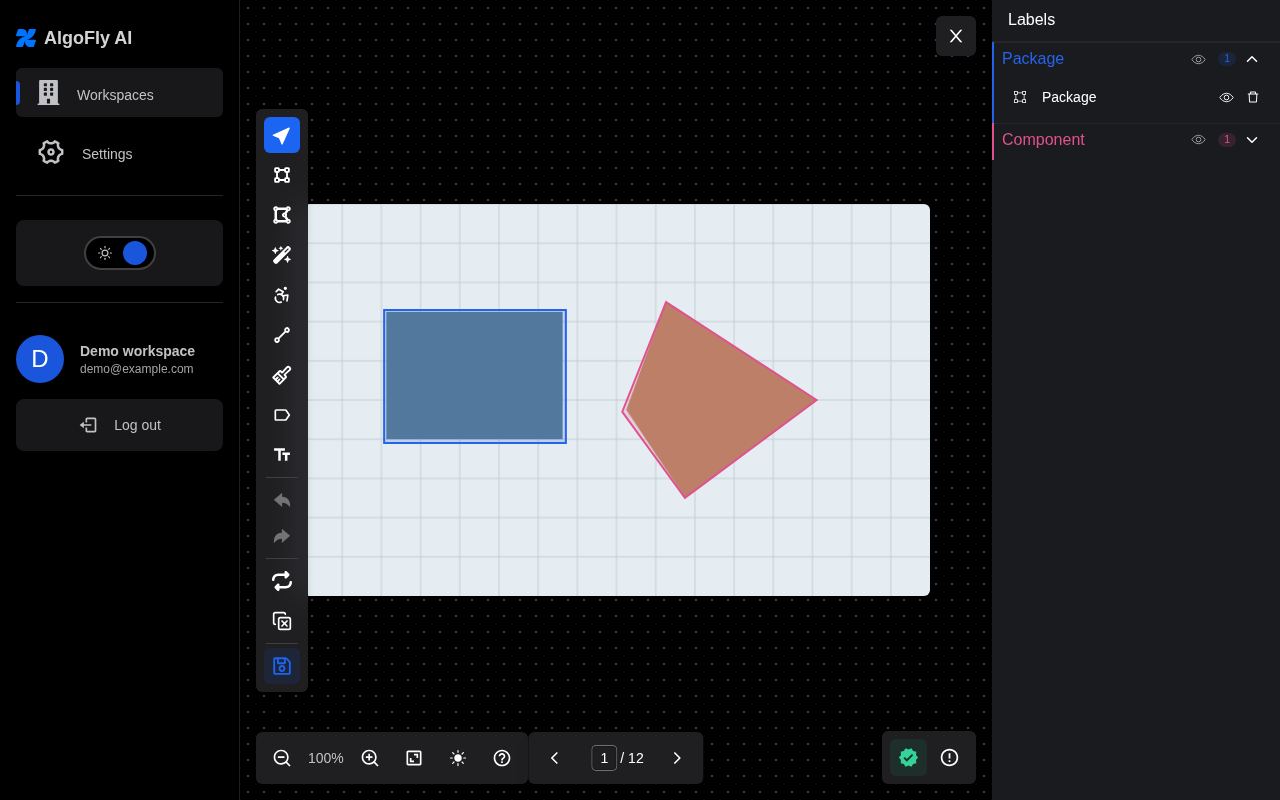
| Teach a model what to recognize | Annotation editor | Classes, shapes, text, masks, or ordered landmarks |
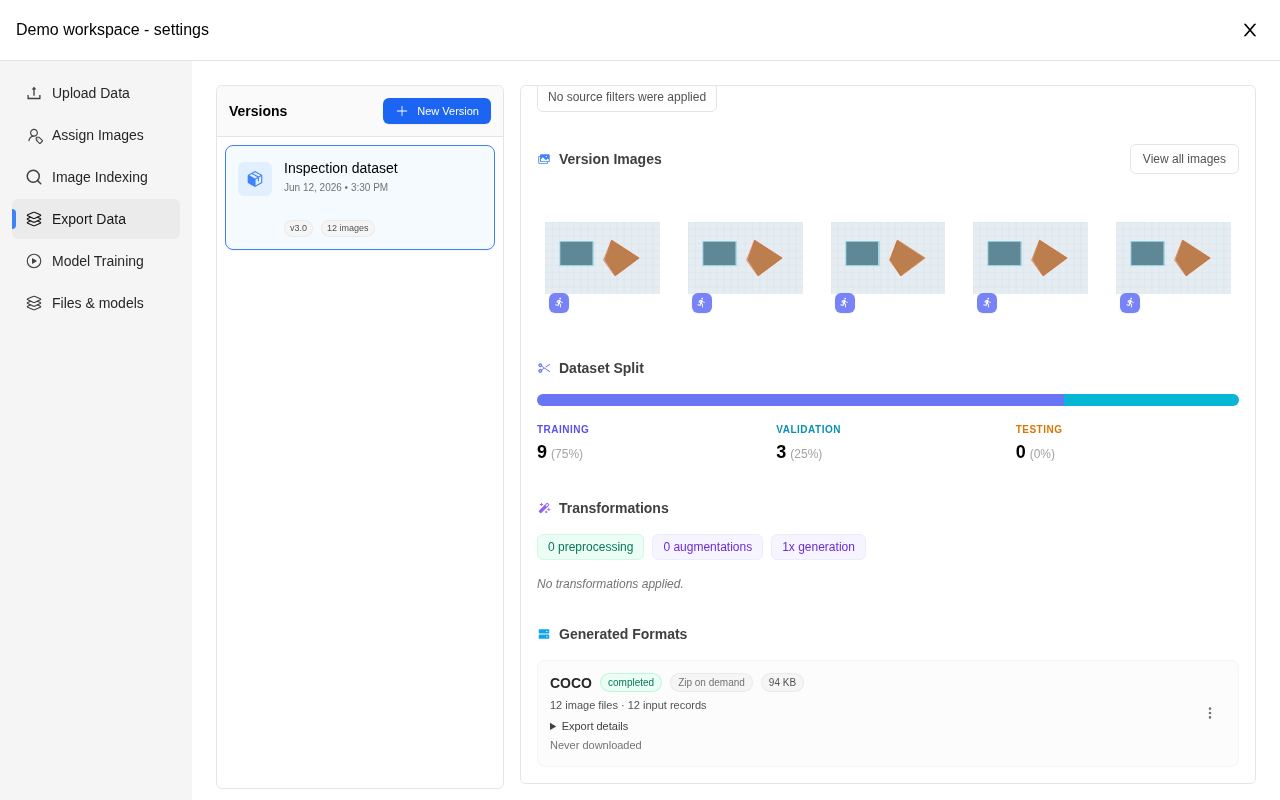
| Make a training-ready dataset | Export Data | A version with selected data, processing, splits, and downloadable formats |
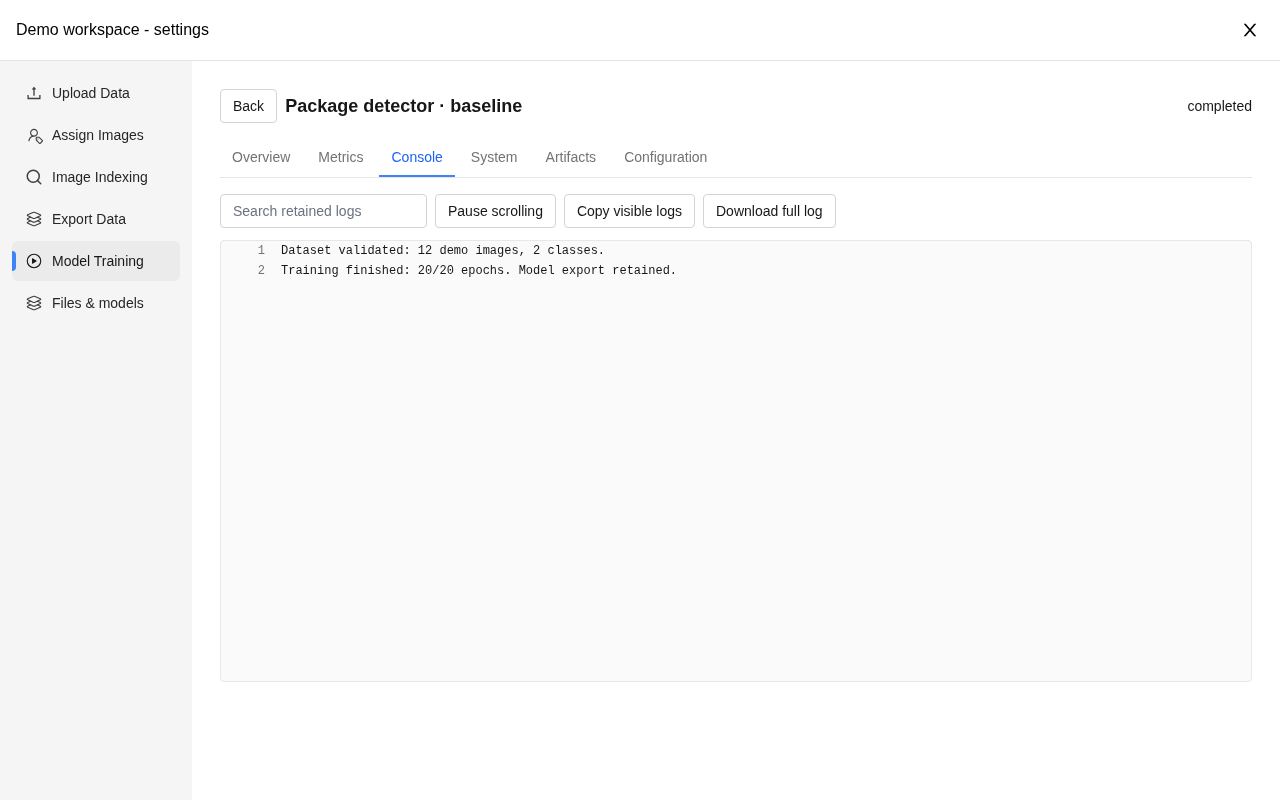
| Train on your own hardware | Model Training and Workers | A tracked run with logs, metrics, and output files |
| Compare and use a model | Evaluate, Benchmark, Convert, and inference actions | Reports, converted files, and saved predictions |
| Repeat a workflow programmatically | Python SDK | Scripts using the same projects and permissions |
Follow a complete computer vision workflow
Imagine you want to detect damaged packaging. Create a project, upload representative photos, and draw boxes or masks around the damage. Review examples with a teammate, then build a version that resizes the images and adds suitable training variation. Train a model on a connected worker, inspect its held-out results, and try predictions on an image it has not seen.
The same sequence applies to other tasks. For a sports project, you might label player joints or court landmarks. For OCR, you might label text regions and transcripts. The annotation type and chosen trainer define the details.
Pick the output your application needs
| Example task | Label the data | Prepare the model input | Inspect the result |
|---|---|---|---|
| Detect damaged packaging | Draw a box around each damaged area; use one consistent class name | Build a reviewed version and generate a detection export accepted by your trainer | Check missed damage and false positives on held-out images |
| Read text on labels | Mark text regions and enter their transcripts | Choose a detection export for locating text, or recognition crops and transcripts for reading it | Inspect region placement separately from the recognized words |
| Locate joints or court landmarks | Choose a skeleton, place ordered keypoints, and mark visibility | Keep landmark order and flip pairs consistent; use a compatible keypoint export | Inspect point positions and connections, including occluded or unlabelled points |
Start with a small representative batch and inspect one exported sample before building a larger dataset. DataHub also supports scientific raster and medical-image workflows where enabled; check supported source formats before importing those files.
Start with a project
- Open Workspaces, choose a workspace, and create or open a project.
- Upload data and review the imported images and labels.
- Annotate and verify the data.
- Build a dataset version and export it.
- Download the dataset or train a supported model using a registered worker.
Projects can contain different annotation types. The export format and model recipe determine which types a particular workflow can use.
The actions available in your deployment depend on its enabled capabilities, your permissions, and the workspace plan.
Choose the right place for your data
| Item | Purpose |
|---|---|
| Workspace | Membership, plan, storage, and usage scope |
| Project | Images, annotations, classes, dataset versions, and project files |
| Dataset version | A generated dataset with selected data, processing steps, and splits |
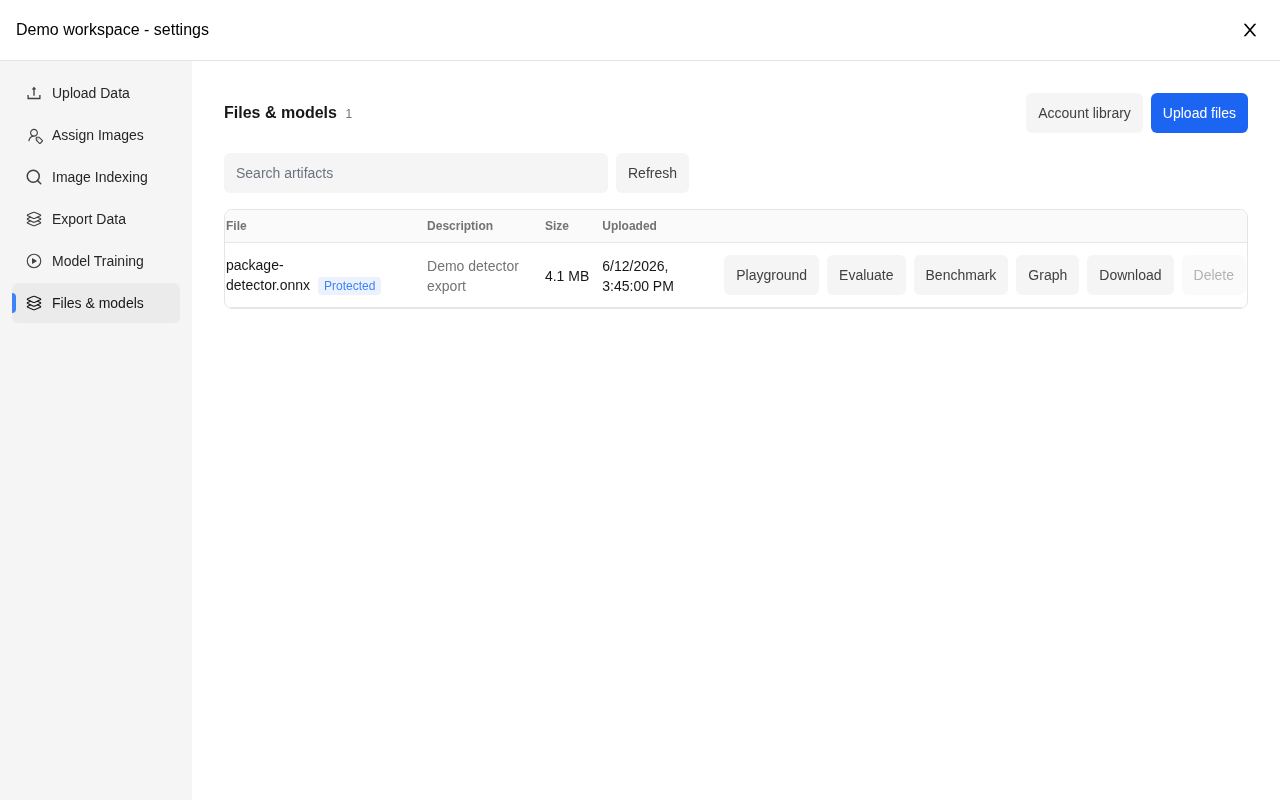
| Artifact | A file such as model weights, an export from a run, or a reference file |
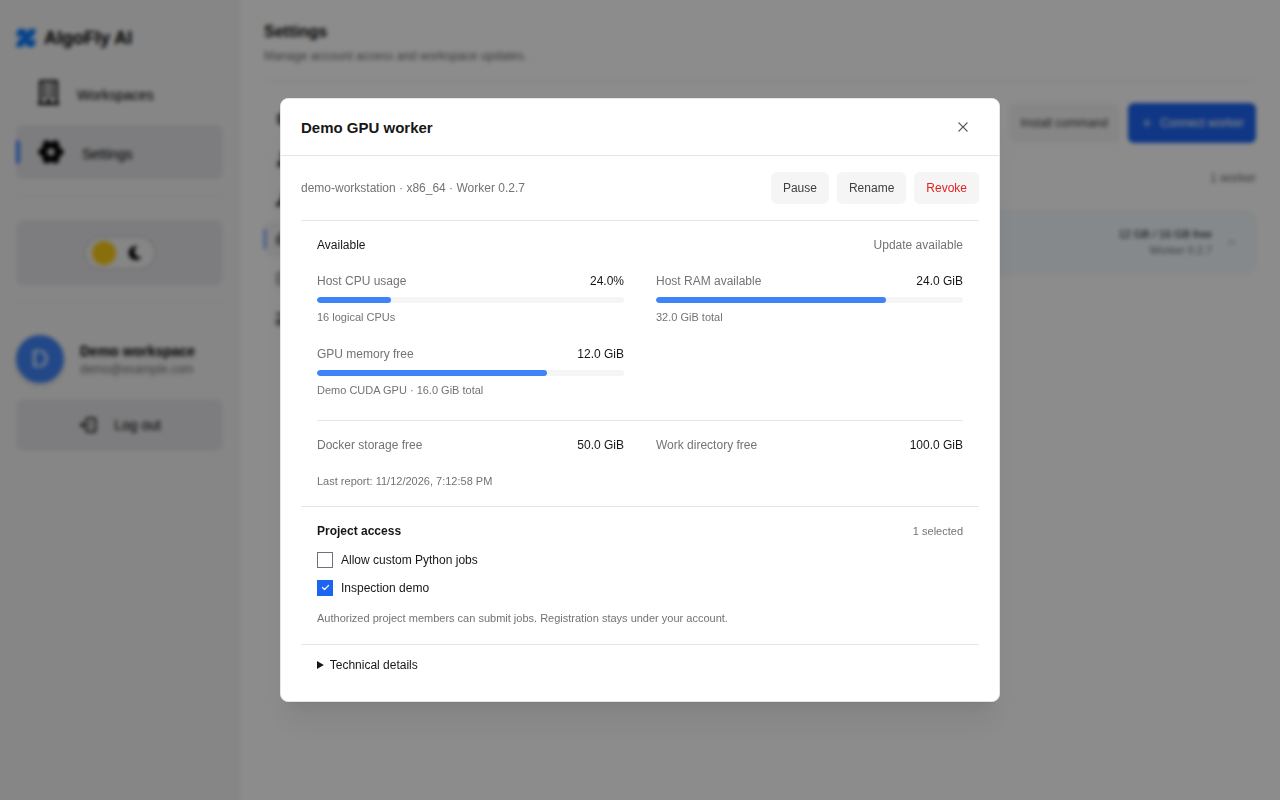
| Worker | A machine you register to execute compatible jobs |
Before starting compute
A worker must be connected, authorized, and compatible with the selected environment. Resource assessment helps identify likely constraints; it does not reserve resources or guarantee that a job will start immediately. Runtime checks still apply.
Check Workers for installation and connectivity, and Account, billing, and administration for allowances.
Find your way around
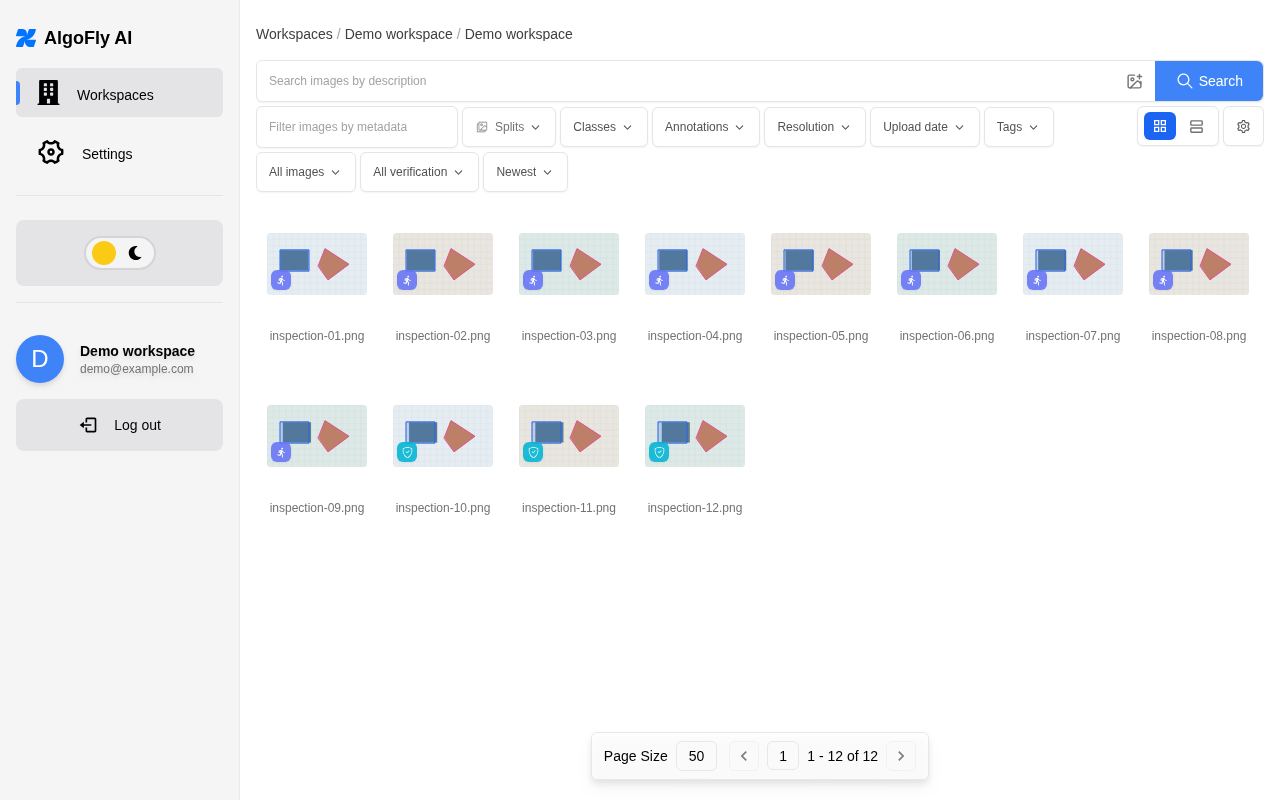
Use Workspaces to reach your projects. Inside a project, the image grid is where you browse and open data. Project settings bring together Upload, Export Data, Model Training, and Files & models. Account Settings contains your workers, artifact library, and workspace billing controls.
For a first session, aim to upload a small batch, label a few examples, and download a version. You can add worker-based training after you are comfortable with the dataset.
Automate a workflow
Use the Python SDK for uploads, annotations, dataset downloads, training, and supported model operations. See SDK automation for a safe starting workflow.